I realize that I have much to post for the past couple of weeks that I have been working. I have decided that for this post I will list the dates from which I have pictures and give a little commentary about the processes and equipment that is being used. My interest in construction encompasses all forms and this project is different in that I have never been exposed to highway construction or civil construction. This project has both as you will see. I will start with the most recent pictures (from today) and move backwards to my first day. All following posts will feature my work diary, the list of activities I must keep of the prime/sub-contractor work items, as well as a few pictures to accompany that. I am enjoying this so far as well as learning a lot. I hope you all enjoy.
Tuesday, 6-28-11:
Today was a slow day, mostly the subs and prime are preparing for the upcoming traffic switch that will be taking place tomorrow evening around midnight. Various items such as pouring median, curb & gutter, and sweeping needed to be completed before traffic was put onto the new concrete pavement and detour pavement.
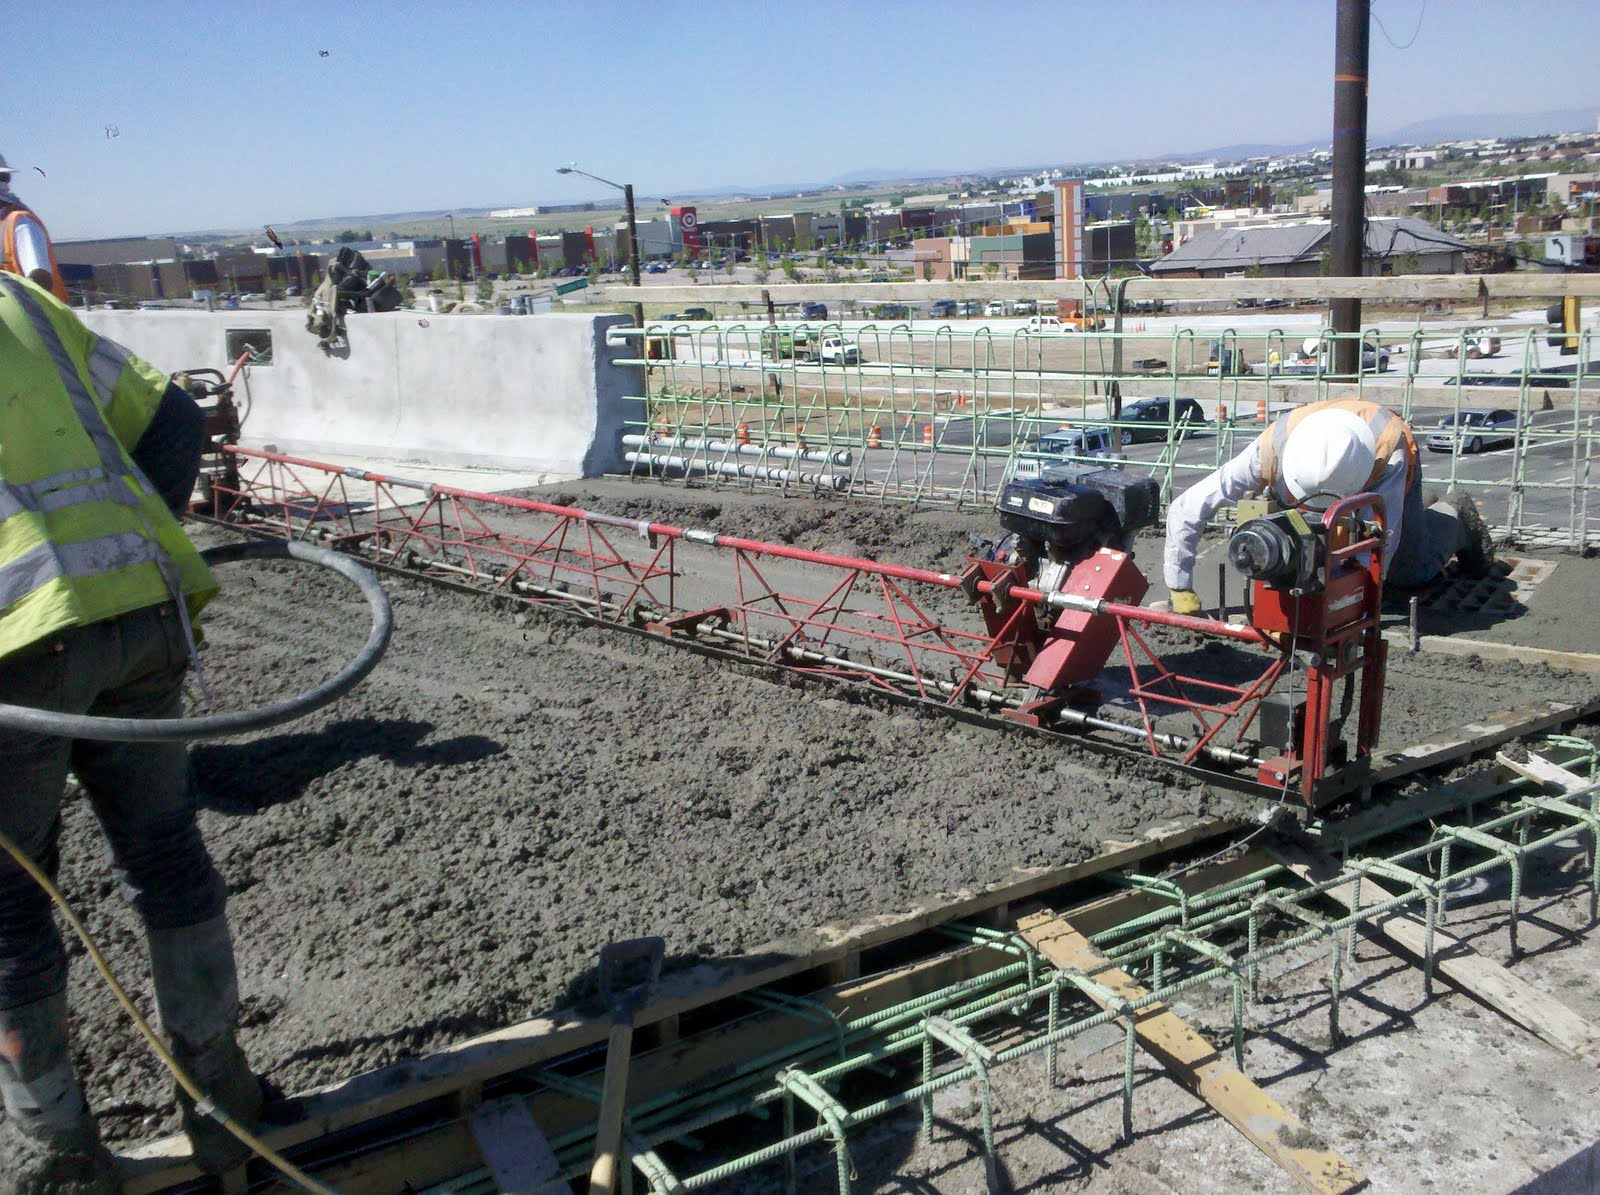
Pictured above is the Southbound approach slab being poured. For this upcoming traffic switch only the Northbound side of the bridge will be used to carry North & Southbound Parker Road traffic.
Also pictured in the above photograph is the power truss screed being used to level the concrete up to the level of the previously placed forms.
I was curious to know how much one of these cost so I did some research and came up with an example, it can be seen here by following the link below:
Above is another picture of the truss screed. Another interesting thing about this piece of equipment is that is actually pulls itself along using cables that are attached to the opposite of the approach slab.
These cables are somewhat visible if you look closely to the right side of the truss screed.
Below is a picture of the re-bar layout a couples days prior.
Monday, 6-27-11:
Today was all about drilling caissons for traffic poles. The following pictures are of the electrical subcontractor drilling a 48" caisson for a traffic pole. This was an especially grueling task because they had to try and drill straight through an existing ductile-iron water pipe that was abandoned and not shown in the utilities plan. Go figure.
Above is the rig the subcontractor uses to auger the caissons.
A picture of the guys leveling the anchor bolts, re-bar cage, and the form for the top of the caisson. If you ask me, this looks like one hell of a contraption. There was a lot of "eyeing" things here.
This got me thinking that I should go home and use my Solidworks and AutoCAD talents to design these guys a better way to complete this task.
Interestingly enough, this worked out just fine and the concrete arrived and was poured around 4:00 p.m.
Saturday, 6-25-11:
Paving detour asphalt along Eastbound Arapahoe. 12" deep. This takes around 4 lifts of 3-3/4 inches each. Asphalt compacts 1/4 inches per 1 inch.
Wednesday, 6-22-11:
Perfectly clean crane being loaded onto a low-boy. Have to take photos of large pieces of machinery when I have the chance.
Tuesday, 6-21-11:
A picture of the "Sleeper-T " footing that runs between the approach slab of the bridge and the concrete pavement that leads up to the bridge. You can normally tell you have gone over one of these by the small bump you feel when you first come onto a bridge of this type. This holds one half of the expansion joint.
The approach slab holds the other.
The guy in the orange hard-hat is Mike. He is the guy that teaches and shows me most of the things that I don't understand. Very helpful.
This is device that one of the concrete finishing guys built for himself. It combines a finish float, broom, and tiner. This way he only has to make one pass rather than three separate ones.
Monday, 6-13-11:
Below is a picture of the concrete contractor pouring a portion of Eastbound Arapahoe road. They are using a roller screed to level the concrete before finishing and curing.
Also, taking place this Monday was the asphalt is used to cover the bridge deck. The water proofing membrane is laid below the tar paper shown here. This paper is much like the paper that is used in roofing a home or commercial building with a traditional wood truss set-up.
Here is an interesting picture (below) of a system I haven't heard of or seen before. It is a de-icing system that is built right into the Type-7 barrier that runs in the middle and on each side of the bridge. Whenever there is a large snow or a large snow is anticipated, the Colorado Department of Transportation can remotely control the de-icing of the bridge. The solution is mixed and sprayed right at each of the nozzles that are placed about every 15 feet.
In the distance the concrete paver is visible. It had just completed the stretch of pavement behind it for Eastbound Arapahoe road.
Wednesday, 6-8-11:
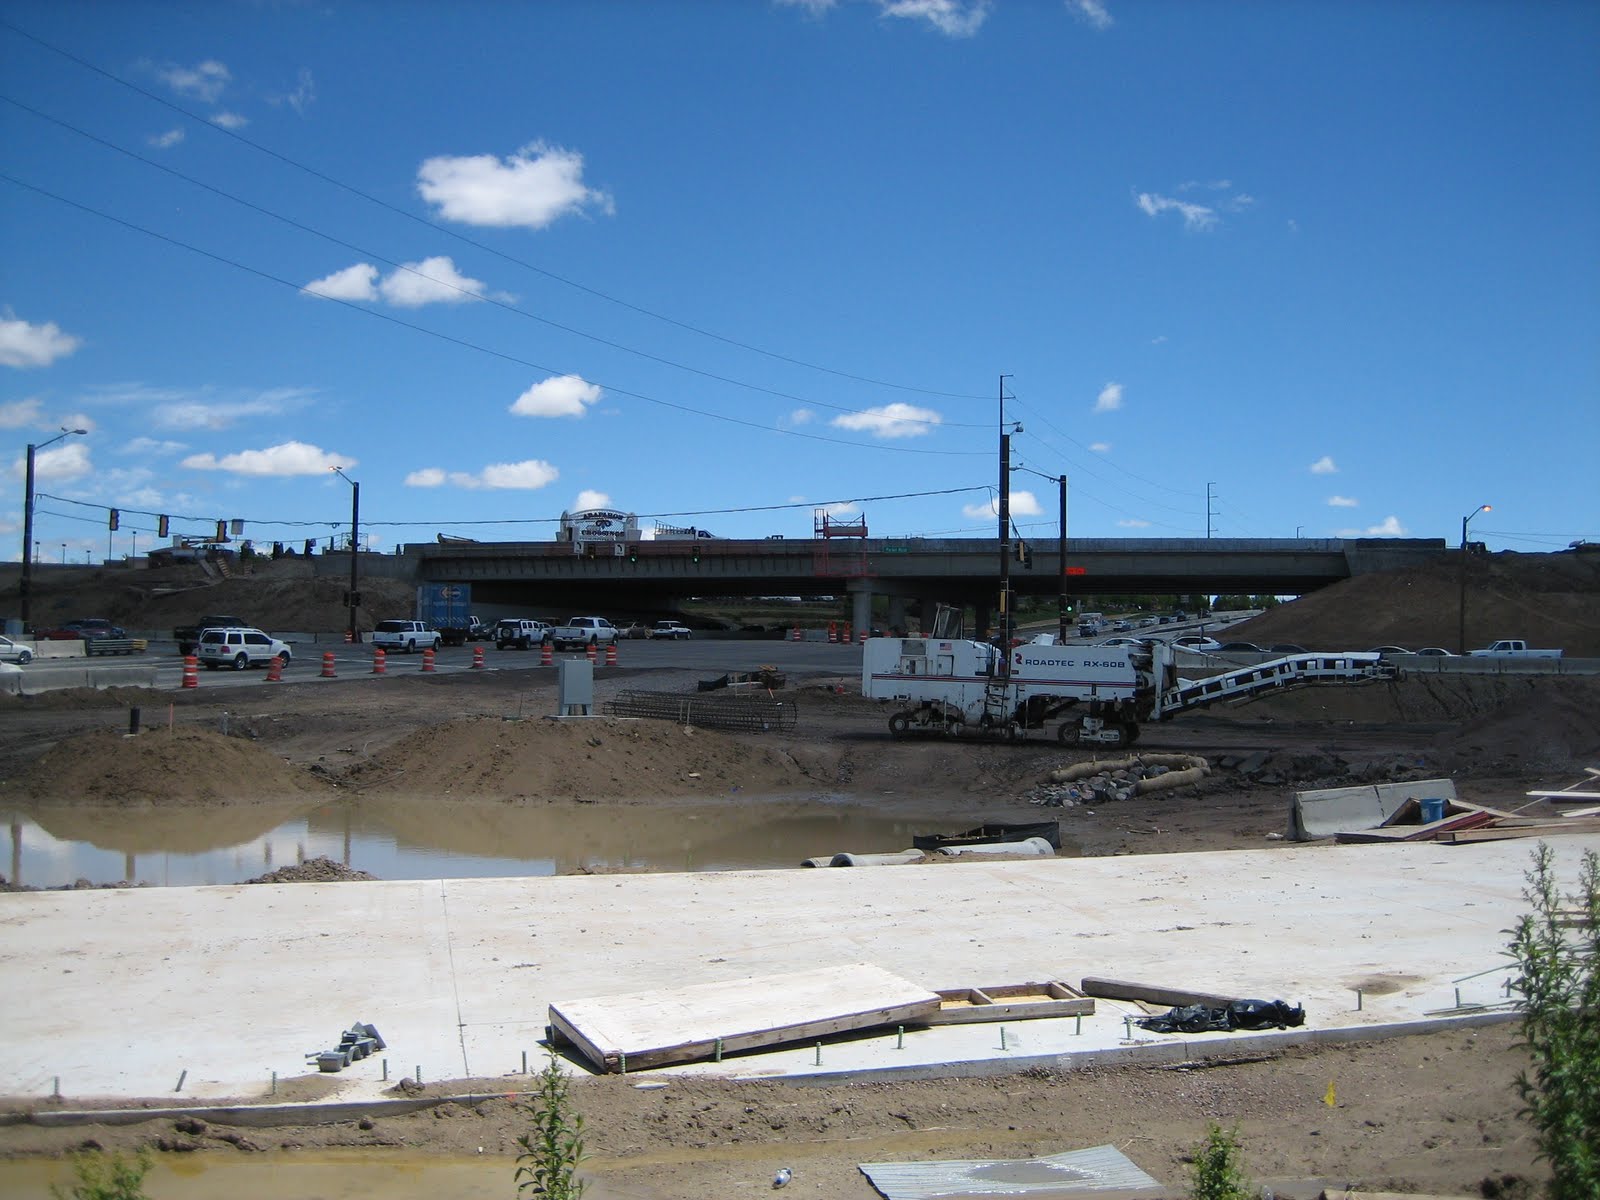
The first day of work at new job is always tough no matter who or where you are. My first day consisted of riding around with Telecia, a project engineer for the CDOT. She is a crazy driver and much fun to talk to about anything. Needless to say, my first day was pretty interesting but I really enjoyed it. Below is a picture of a bridge demolition at a smaller CDOT project.
An interesting note about this project, My sister Emily, a planner for Denver Public Works, aided CDOT designers on the bike detour that would be needed because the normal bike is under the rubble you see above.
Pre-Benjamin Araphoe/Parker Interchange pictures:
The following are pictures of the project that were given to me by Mike to share. If you have any questions about any of them, feel free to ask.